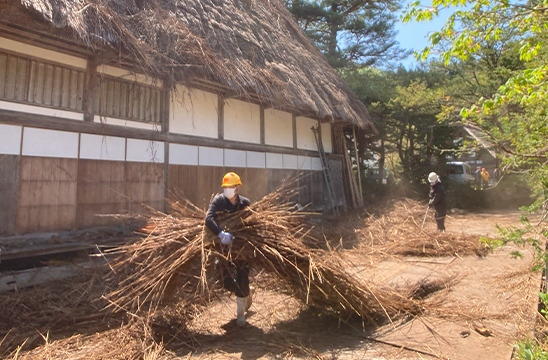
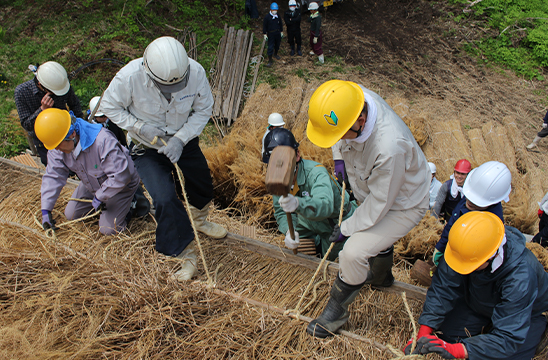
Removing Old Thatch
The thatched roofs of Shirakawa Village’s gassho style houses are rethatched roughly once every 30 years. The first step in the rethatching process is stripping off the old thatch. The layers of straw that have withstood years of wind and snow are taken down. In the old days, this work began as early as 4 a.m., before sunrise. By around 8 a.m., when helpers for the communal yui gathering arrived, the old thatch had to be completely cleared away. If not, the household and its relatives were criticized as being incapable. Stripping the roof is the essential starting point for giving it new life.
Placing the Neso

All the framework of a gassho style house is made from plant materials, and the neso is one of these. On top of the horizontal beams, the rafters are placed, and these rafters are fastened with neso ties, crisscrossed in a harness-like fashion. The directions of the ties are varied up, down, left, and right to avoid uneven distribution of force. For one rethatching, between 700 and 1,000 neso ties are used. Each one is fastened with care, in gratitude for the blessings of the mountains and the wisdom of ancestors.
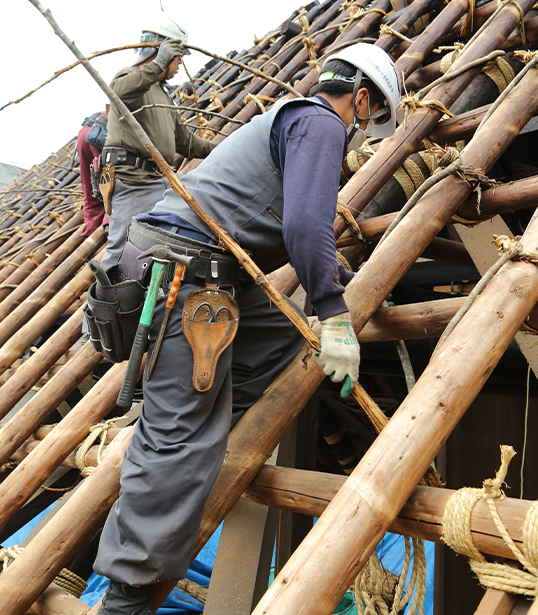
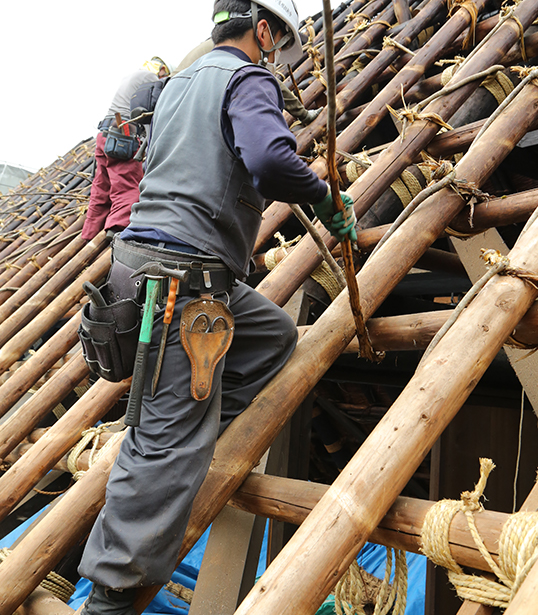
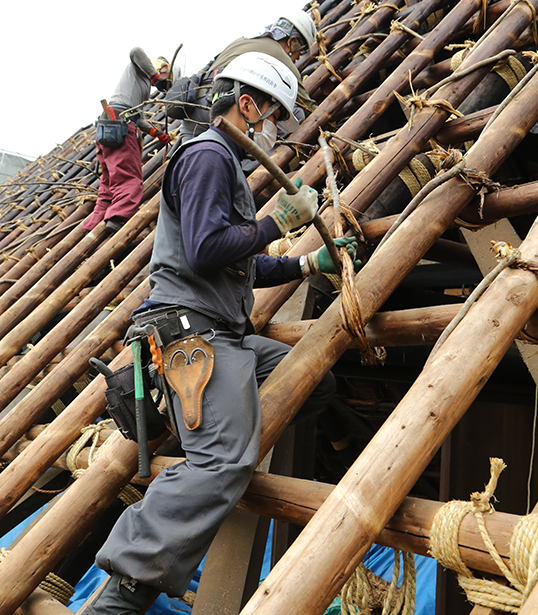
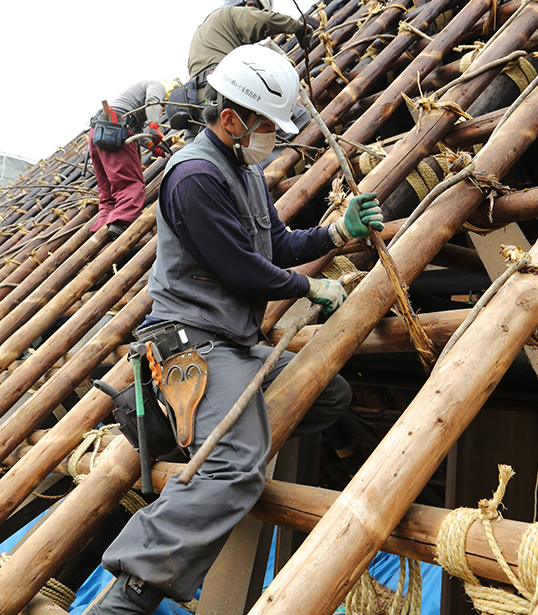
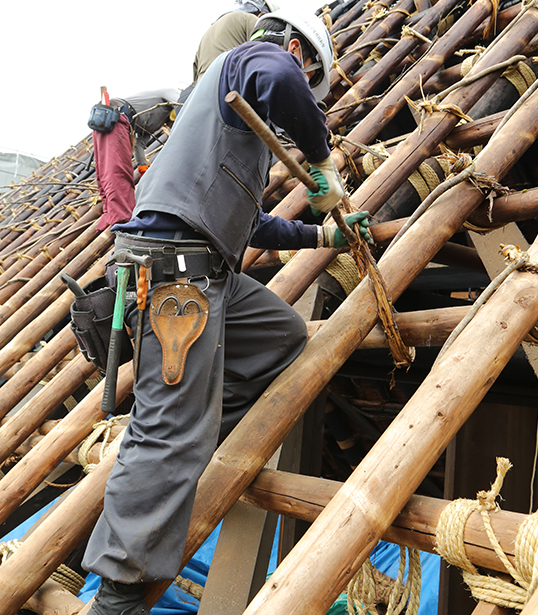
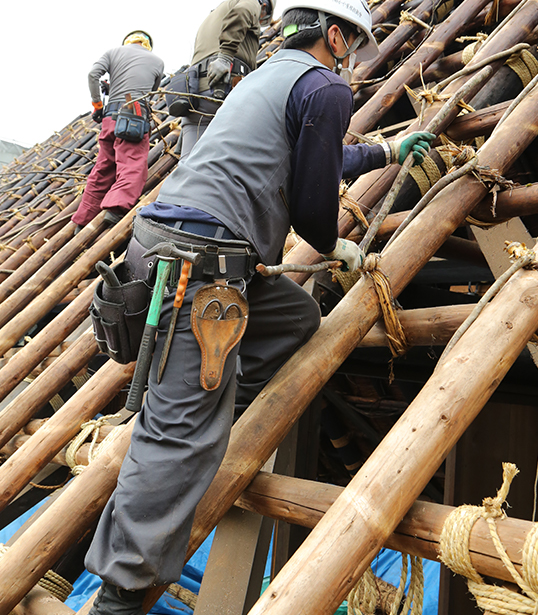
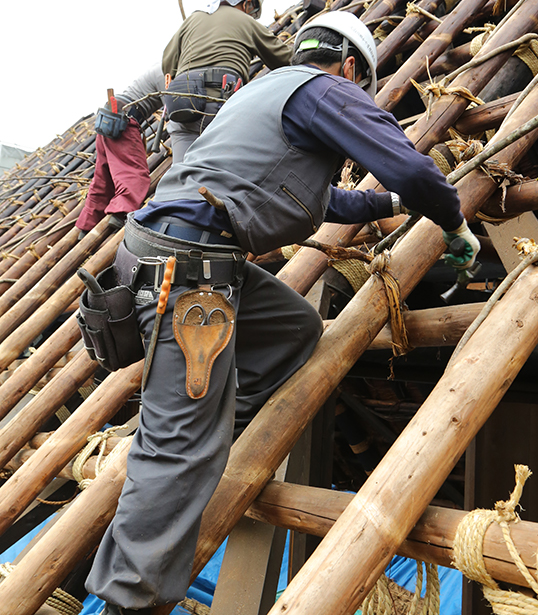
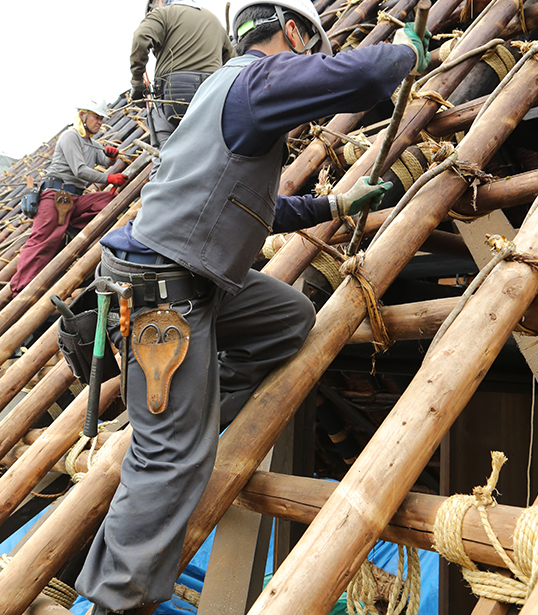
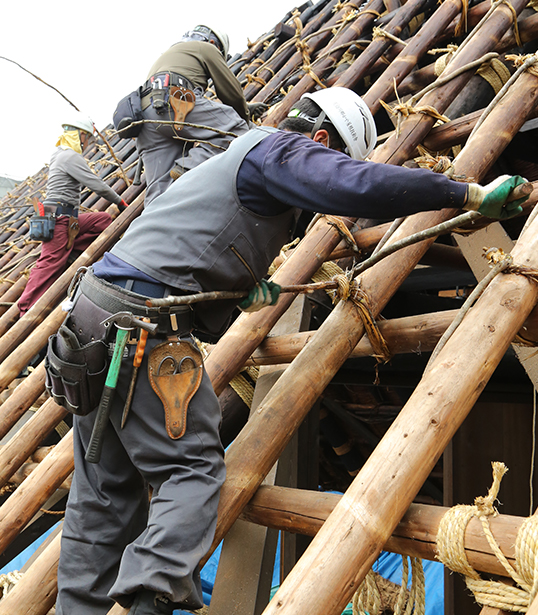
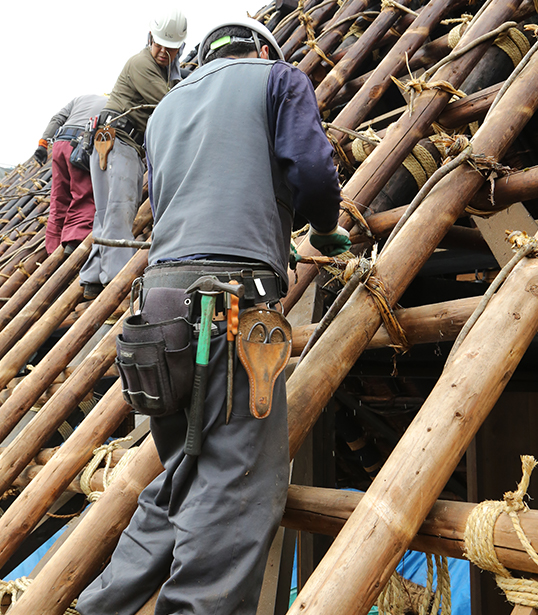
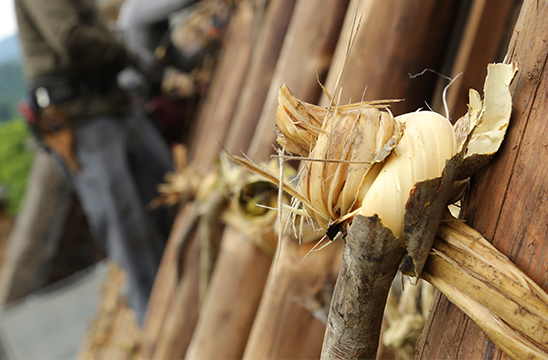
The neso used as binding material comes from young witch hazel trees, about four years old. The wood is flexible and resistant to breaking. Used fresh, the fibers are twisted and loosened to serve as rope. As the material dries, it shrinks and tightens further, strengthening the bond. Traditionally, neso has been used not only for thatching but also for tying logs in scaffolding or assembling drying racks for crops, serving the same purpose as modern iron wire. It also saved households from needing to twist as much rope by hand. Once fastened, the neso ties support the roof’s weight until the next rethatching, 30 years later.
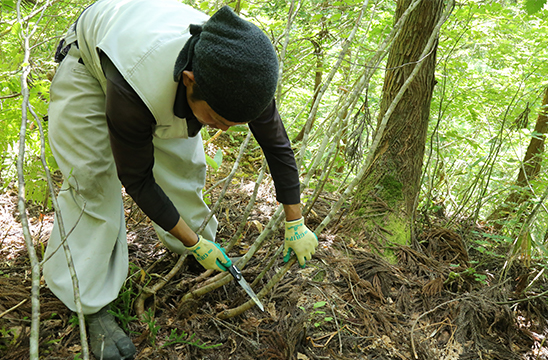
Harvesting Neso
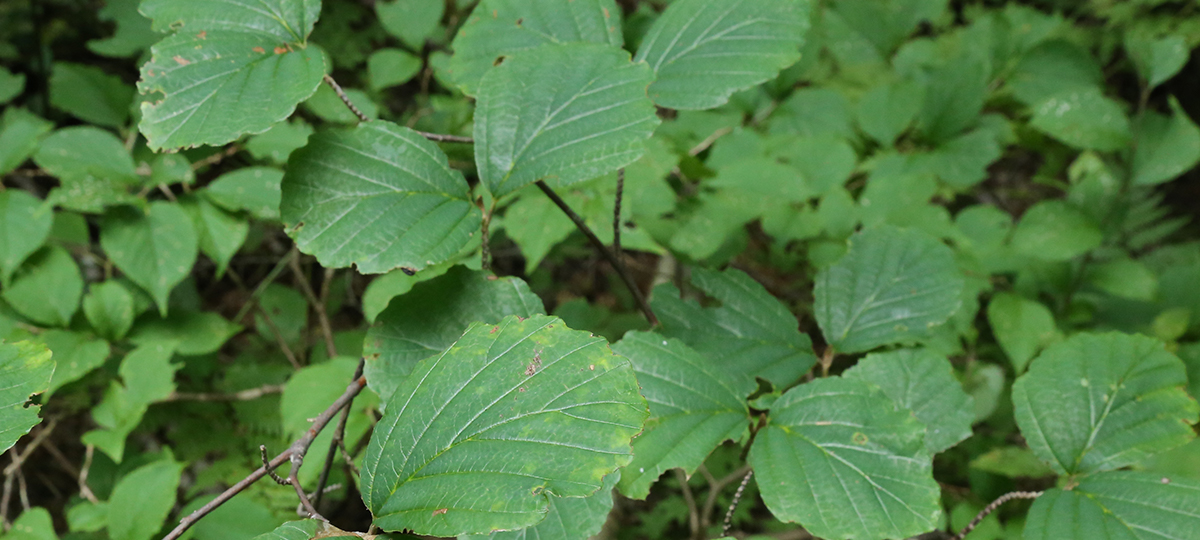
Leaves of the Witch Hazel
Neso is another name for witch hazel, a deciduous small tree commonly found in the mountains. The wood of neso is extremely tough, fibrous, and resistant to decay. Even when bent, the branches do not easily snap. Because of these properties, neso has long been used as a binding material. In Shirakawa Village, witch hazel grows with its base curved under the weight of snow, and this natural bend makes it especially well-suited for tying, so villagers prefer to harvest neso with curved bases.
Young witch hazel trees bent at the base by snow load
When the base is curved, it fits snugly during neso tying.
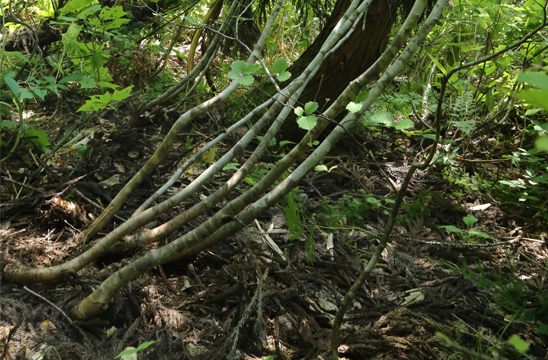
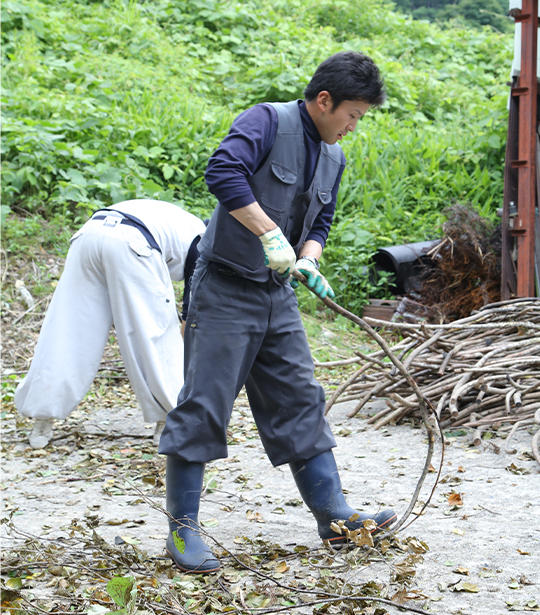
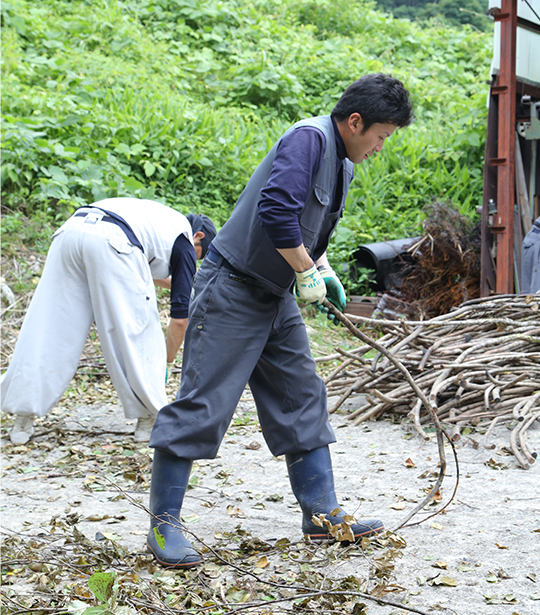
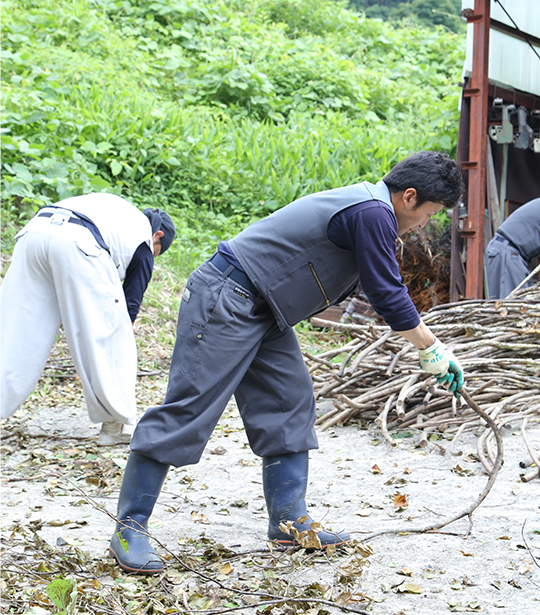
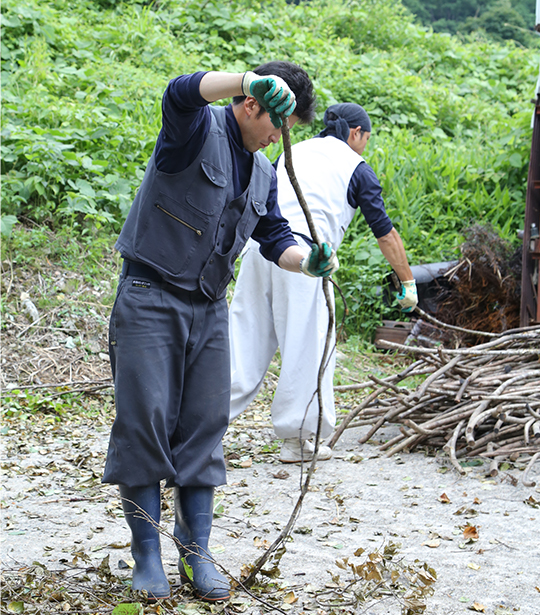
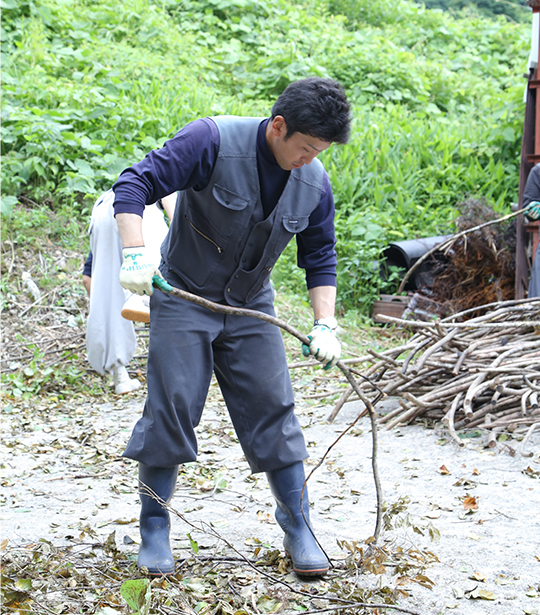
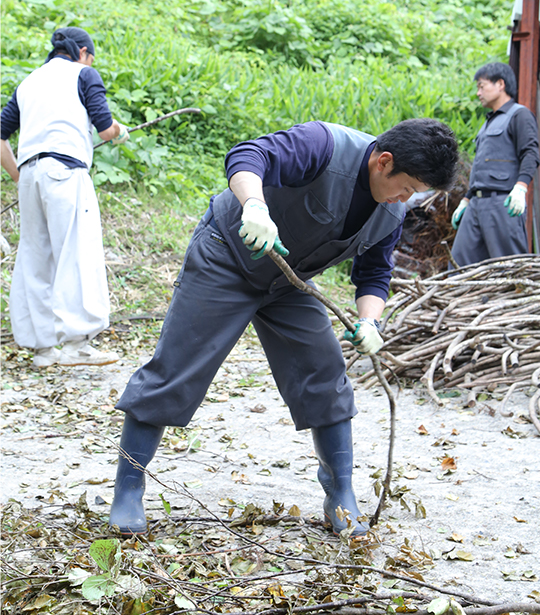
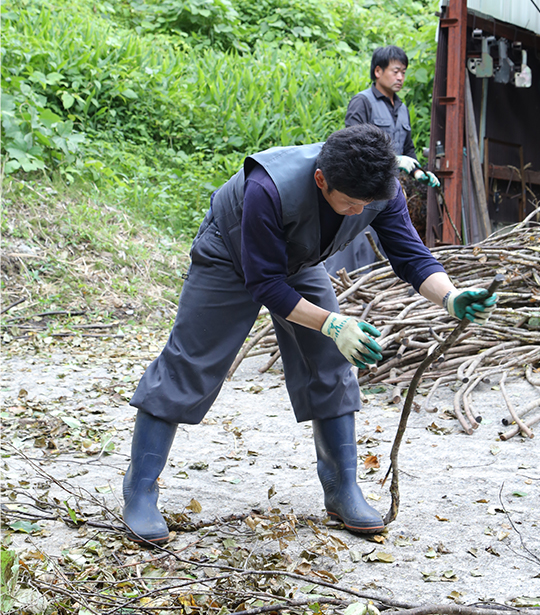
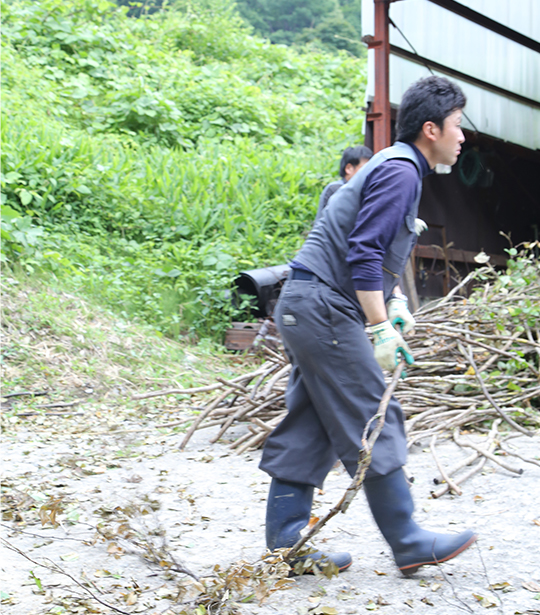
Gathering Neso
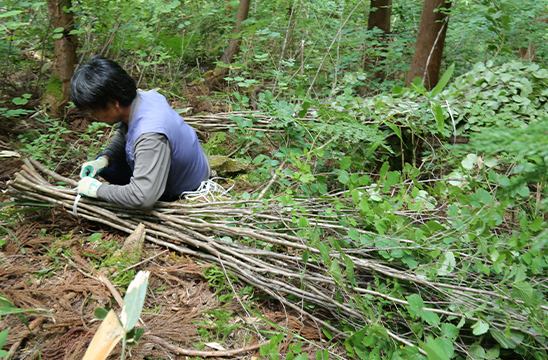
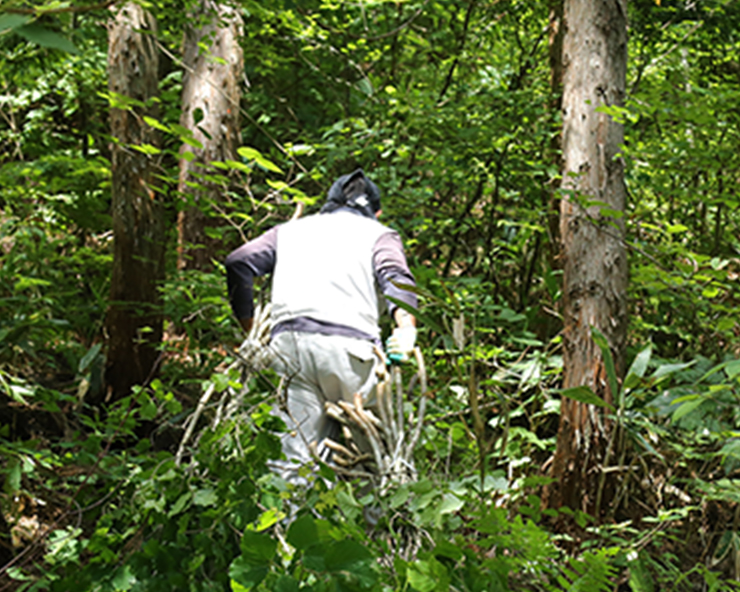
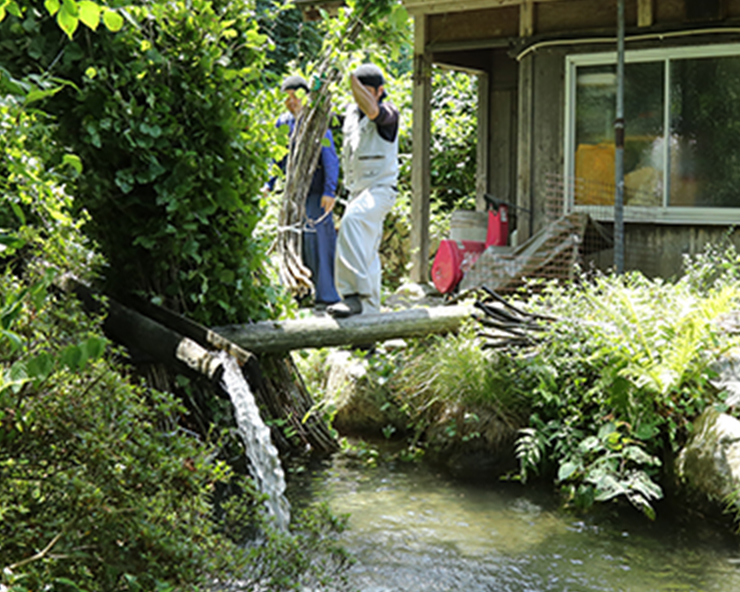
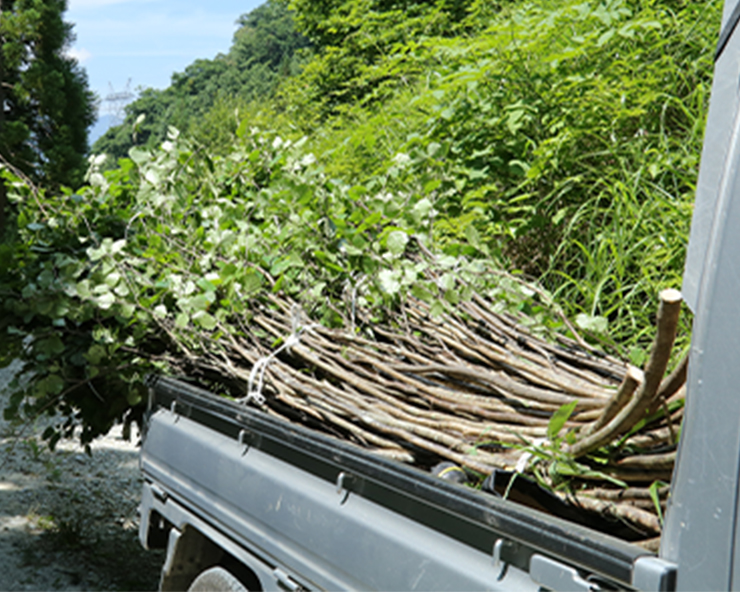
Neso is gathered from nearby mountains. Since 700–1,000 pieces are needed for re-thatching a single gassho style house, villagers collect them little by little during spare time. Because neso must be used while still green, it is stored with its base submerged in water to prevent drying. Since many houses in Shirakawa have snow-melting ponds, these ponds are used to preserve the neso.
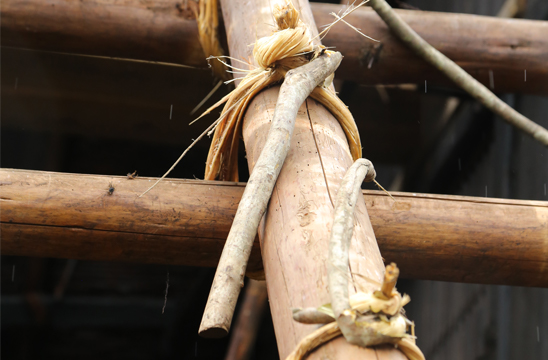
Preparing Neso
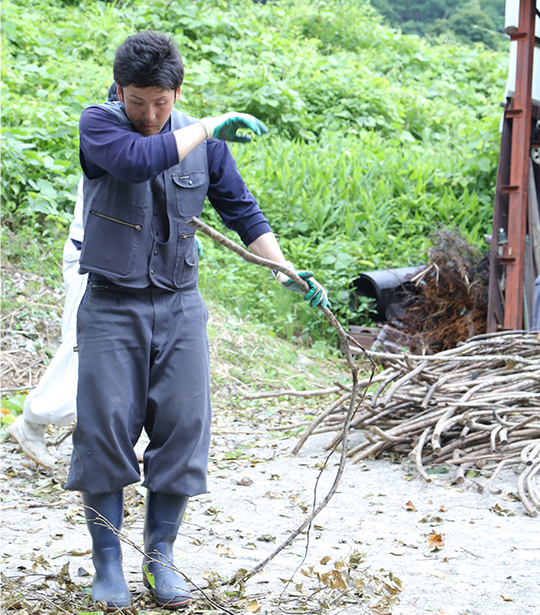

Before use, neso must undergo a preparation process called neso-neri. The tip of the branch is stepped on while holding the base, and the entire piece is rubbed and worked. Making use of its natural curve, the branch is twisted repeatedly, one hand pivoting while the other rotates. Finally, the twisted and loosened parts are struck with a wooden mallet to soften the fibers at the binding section.
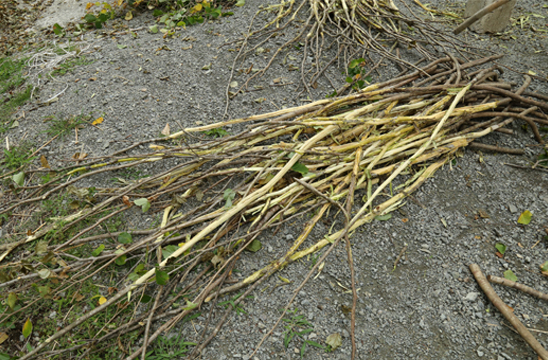
Neso after preparation
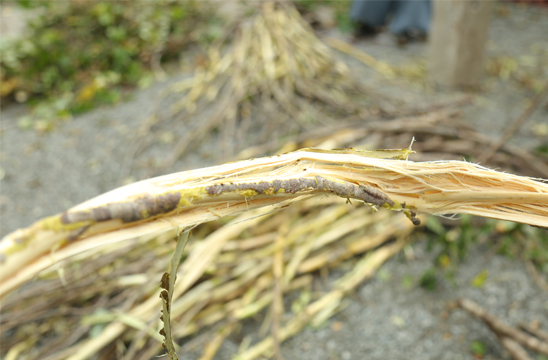
The strong fibrous texture of the prepared neso is clearly visible
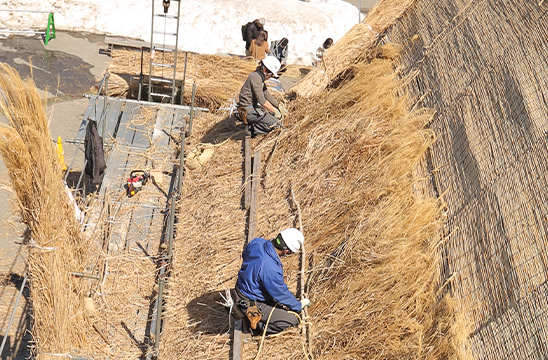
Thatching with Grass
Process of Thatching with Grass
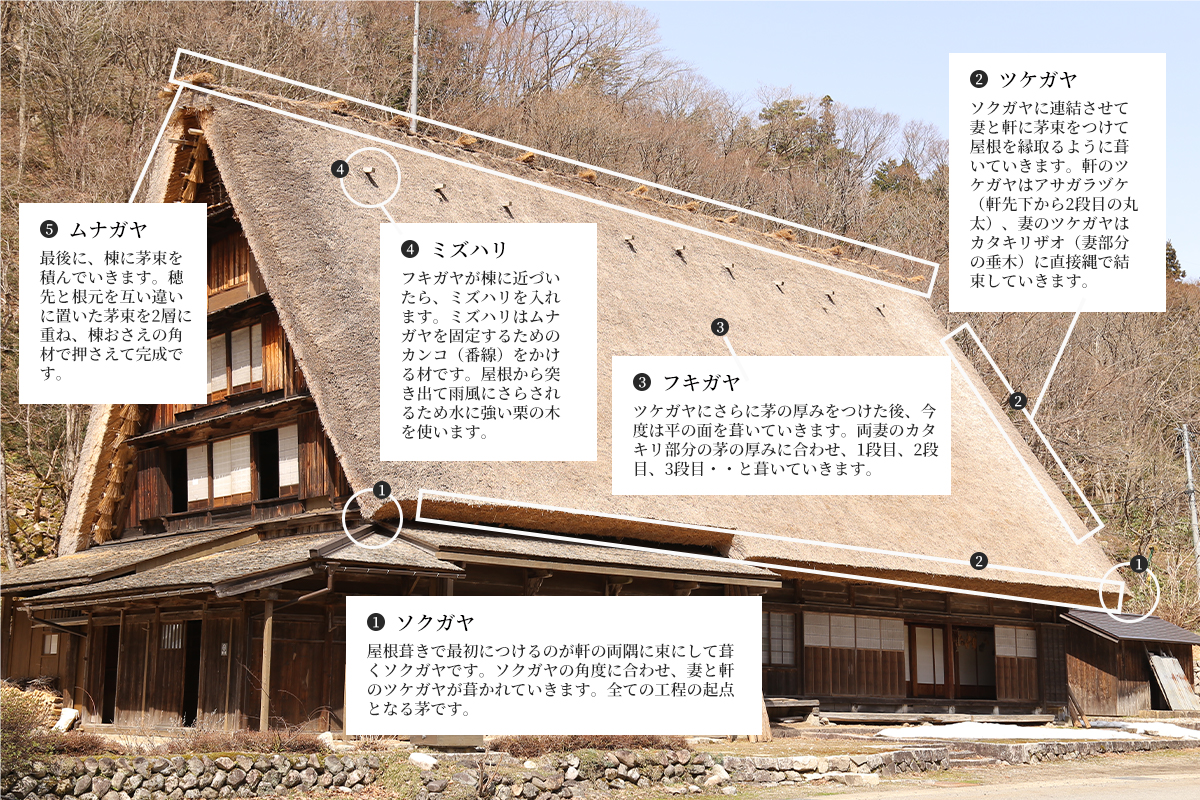
1.Sokugiya
The first thatch to be laid, inserted along the eaves to serve as a gutter. The angle of the sokugiya determines the placement of the beams and eave-edge tsukegiya. It is the starting point of the entire process.
2.Tsukegiya
Bundles of thatch are then tied to the sokugiya along the gables and eaves to outline the roof. At the eaves, the tsukegiya is fastened to the asagarazuke (the second log from the bottom of the eaves), while at the gables it is tied directly to the katakirizaka (gable rafters at the legal boundary).
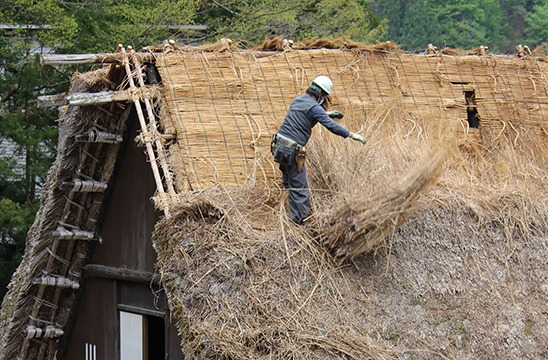
3.Fukigaya
Once the tsukegiya provides the base thickness, flat surfaces are covered. The thickness of the thatch at the gables sets the level, and the roof is thatched in successive layers: first layer, second layer, third layer, and so on.
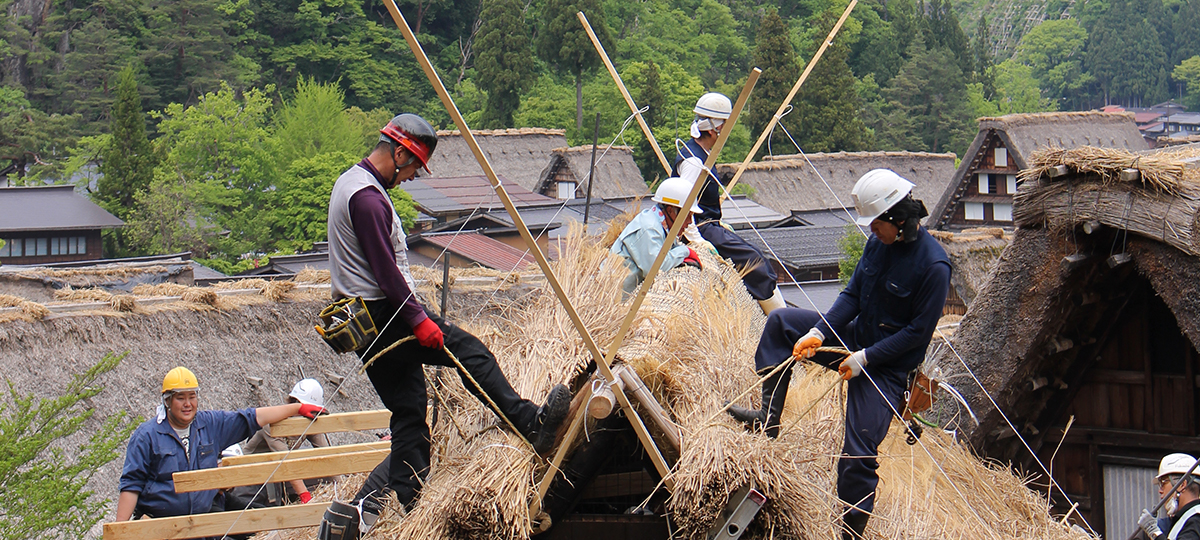
4.Mizuhari
As the fukigaya approaches the ridge, mizuhari pieces are inserted. These are beams for attaching the iron wires that hold the ridge thatch (munagaya). Since they are exposed to rain and wind, durable chestnut wood is used.
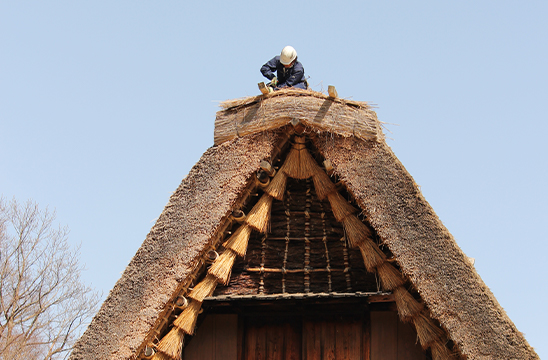
5.Munagaya
Finally, thatch bundles are piled at the ridge. They are alternated at the ridge ends and center in two overlapping layers, secured with ridge beams. This completes the roof.
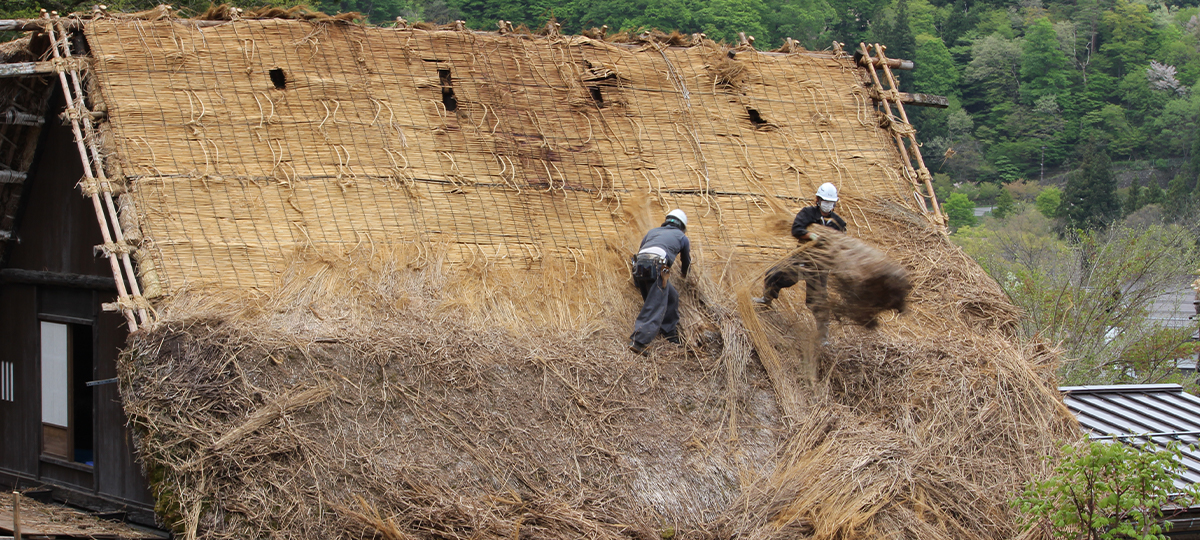
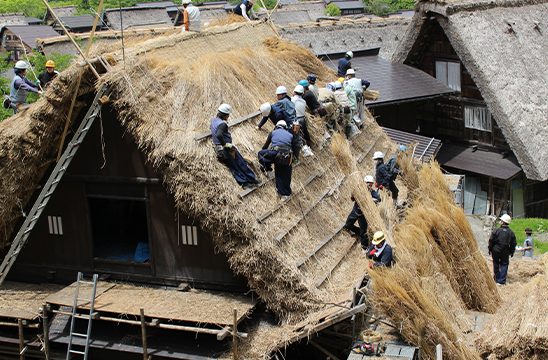
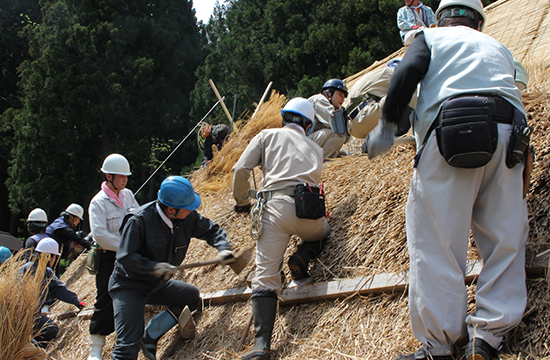
Thatch is laid starting from the eaves and proceeding toward the ridge. First, “tsukegaya” is placed at the edges of the roof—at the eaves and gable ends. Using these as the base, “fukigaya” is then added layer by layer. Once the ridge is reached, “munagaya” (ridge thatch) is installed to complete the roof. In the past, all of these steps in a yui (communal re-thatching) were finished in a single day. Today, however, the yui gathering usually completes the laying of the fukigaya, with professional thatchers finishing the remainder over several days.
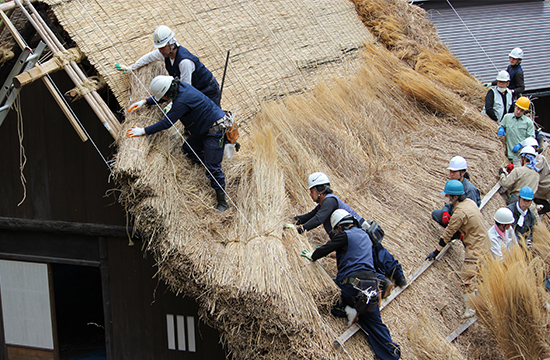
Katakiri
The ends of the roof surface are called katakiri. Starting from the angle of the sokugiya at the lower edge of the gable, bundles of tsukegiya are laid at a 45-degree incline, with additional thatch built up on top to give the gable its thickness. The transition from the slanted gable thatch to the vertical flat roof thatch must be made without leaving any unevenness, making this a crucial point for the roof’s durability and requiring a high level of skill. Those who perform this task are called katakiri workers, and only experienced craftsmen take on the role. Since katakiri serves as the baseline for the flat fukigaya, it must be laid ahead of the rest, demanding both precision and speed.
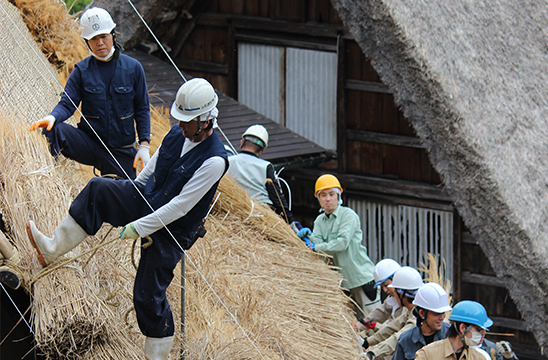
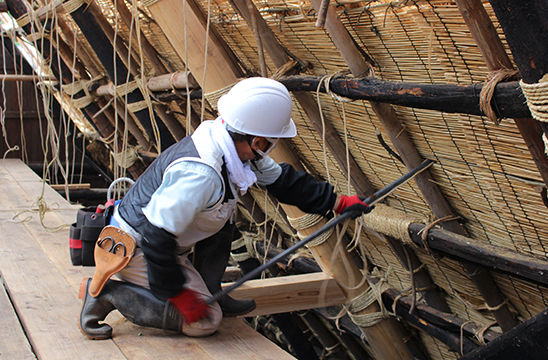
Nuiboku
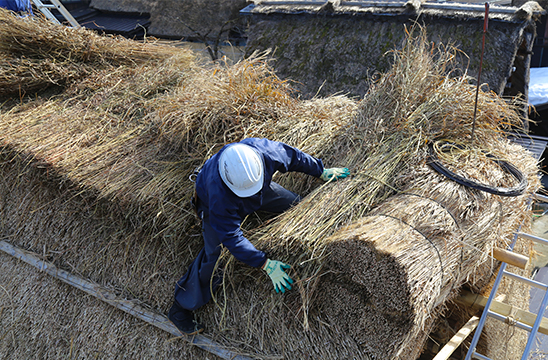
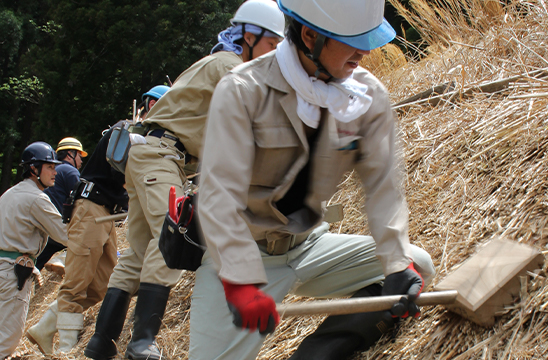
The fukigaya is secured with ropes and wooden battens called nuiboku, layered repeatedly until the roof is complete. While other regions often use bamboo for these battens, Shirakawa uses hardwoods such as beech. This is because the nuiboku must be firmly struck with a large wooden mallet to prevent the thatch from being pulled out by heavy snow. At the coordinator’s signal, the workers strike in unison while chanting “Hooi-hoi!”—a scene unique to Shirakawa Village.
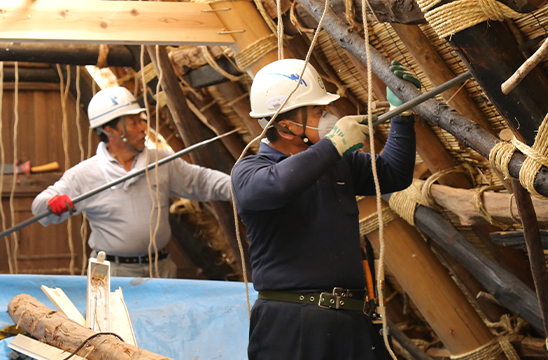
Nuibari
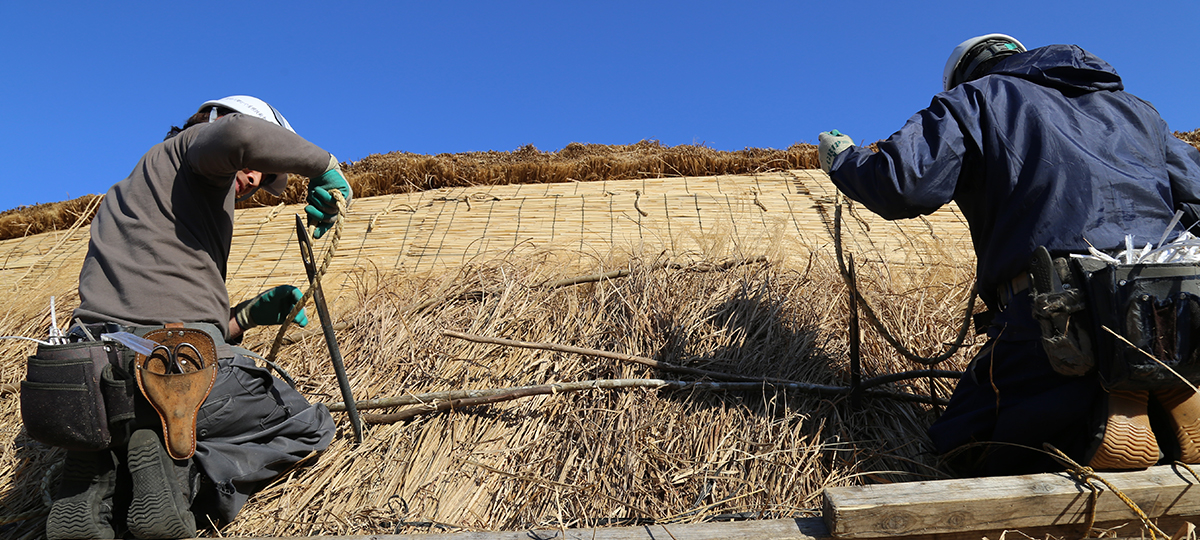
The ropes securing the nuiboku are fastened to the rafters. To thread the ropes onto the rafters from inside the roof, workers use a large wooden needle with a hole at the tip, called a nuibari. Inside the roof, the needle workers send the nuibari outward to the thatchers. Once the outside worker threads the rope through the hole, the nuibari is pulled back inside, passing the rope onto the rafters. The process is repeated as the rope ends are continually exchanged between inside and outside.
Kaido
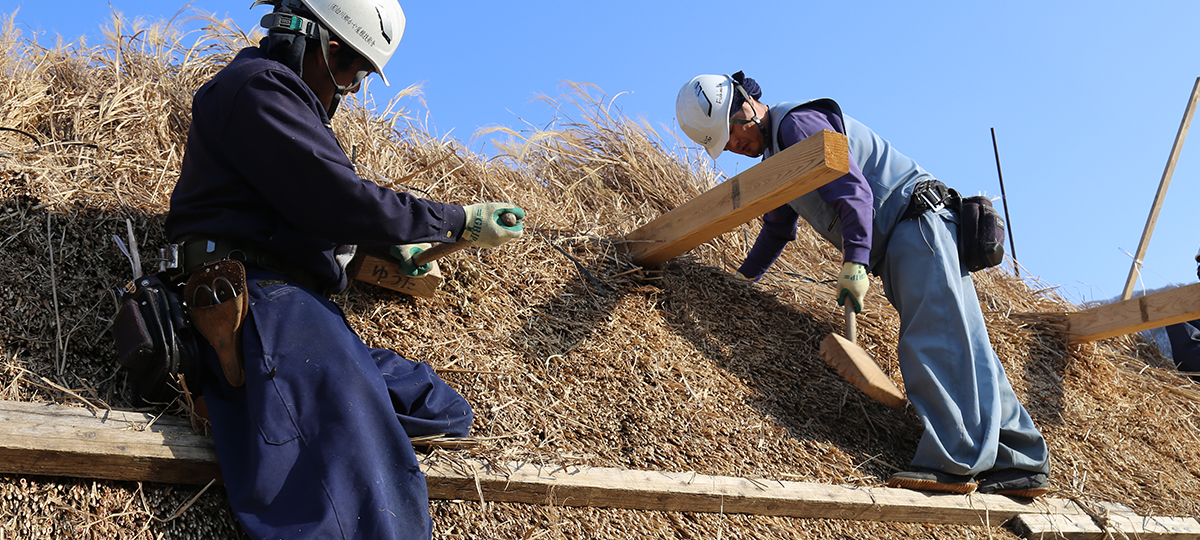
The kaido is a beam placed across the roof surface during the laying of fukigaya. It is a versatile tool in thatching, serving multiple purposes. It acts as scaffolding for workers on the roof, a weight to keep thatch from slipping before it is secured with nuiboku, and a guide to align both the thickness and the ends of the thatch. Kaido beams are indispensable in re-thatching: after each layer of thatch is laid, a kaido is set in place, and the process repeats with each new layer.
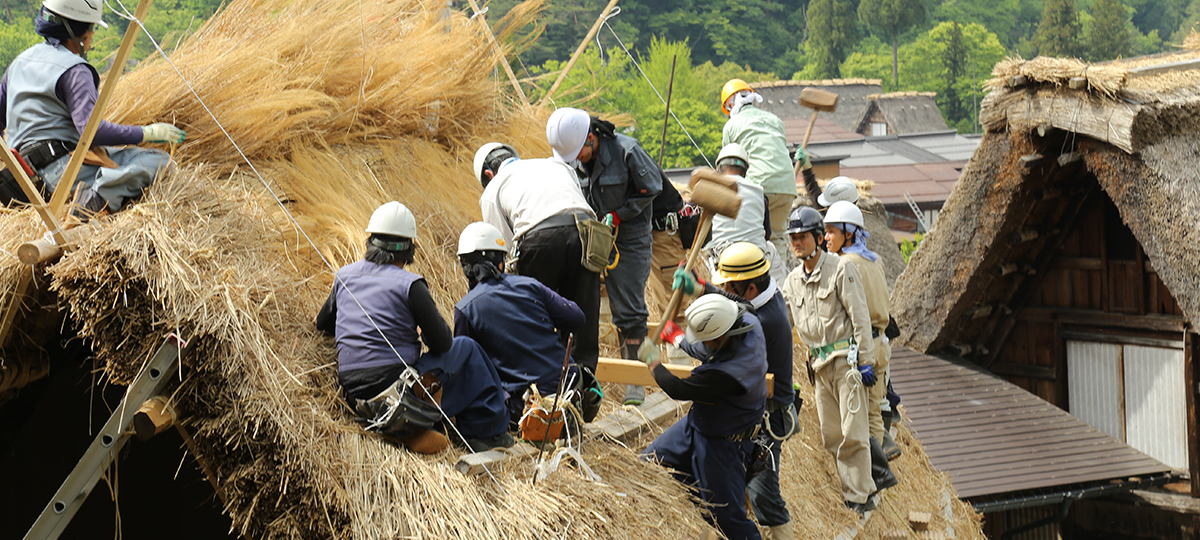
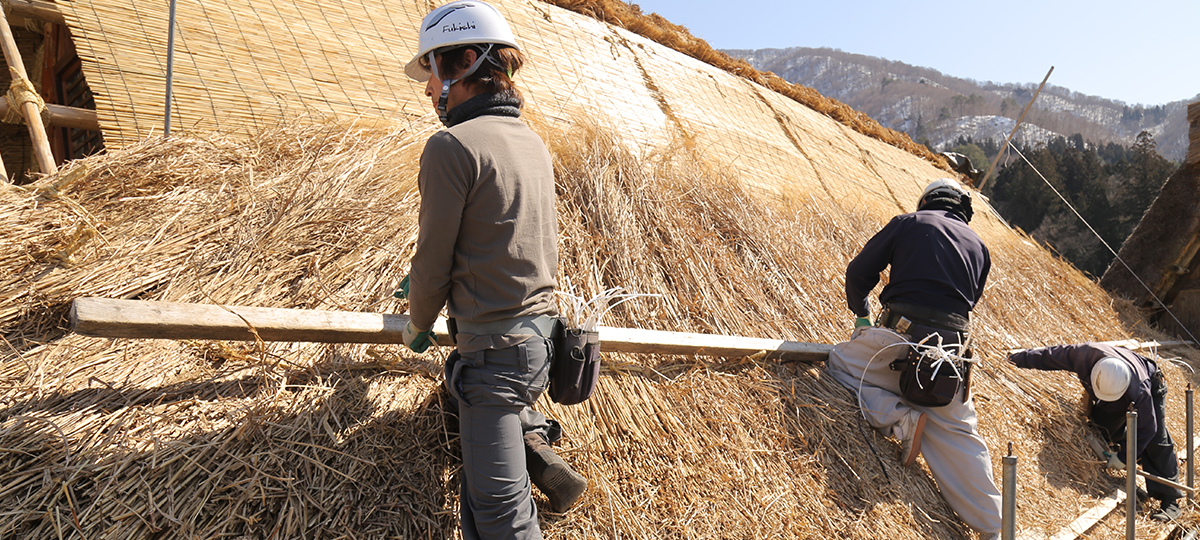
Tsukiage
The tsukiage is a tool used to push up the thatch. After bundles are laid and pressed by the kaido, the lower ends of the thatch are pushed upward with the tsukiage to even out the roof surface. The kaido serves as a reference point to align the thatch as it is pushed into place.
Muneage
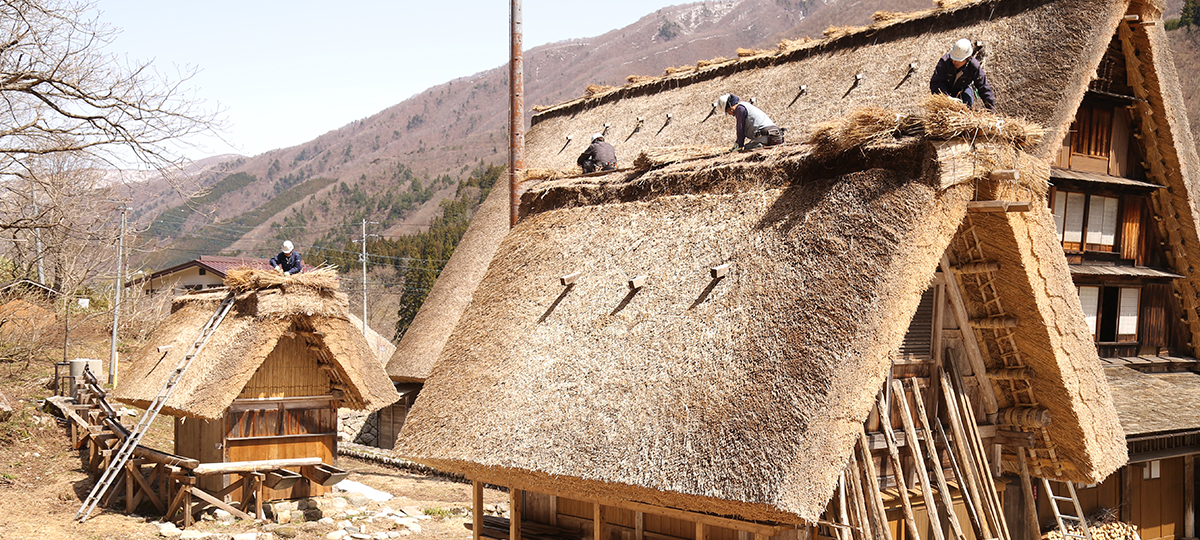
Once the fukigaya is complete, the final step is to finish with the munagaya (ridge thatch). The ridge is the part most exposed to rain and wind, and thus the most prone to damage. In regions where professional thatchers do the work, their skill shines here, often resulting in unique ridge finishes distinctive to each area, with some evolving into artistic decorations. By contrast, in Shirakawa Village, ridge work is also completed through the communal yui process. As a result, the ridges here retain a simple, functional form that has been passed down to the present.